Changing A Kamado Felt Gasket
Every so often you will have to change your kamado felt gasket, either replacing with another felt gasket or upgrading to a fibre mesh gasket. When I did mine I wrote this page to give you an easy to follow process so you can do yours.
Some of the "high end" kamados come with a fibre mesh gasket as standard but many budget kamados still feature a felt gasket adhered around the rim of both the base of the lid and the body of the kamado.
The kamado felt gasket provides a seal between the lid and the body so when closed, neither smoke can escape nor air get in. This is important both for the moisture retention (quality of the cooking results) and to ensure that the air flow through the kamado operates as it should. If your gasket is past it's sell by date, don't hang about, replace it because the performance of your barbecue depends on it.
Depending on how often and how aggressively you use your kamado, your felt will need replacing sooner or later. I've known some professional chefs manage to burn a gasket in one cookout!
Wear and tear is accelerated by cooking at the extremes. Low and slow tends to create tar deposits in the felt and extreme heat can burn it away – especially if you start a fire in your kamado with the lid open! - Not recommended.
You'll be able to feel and hear the first signs of needing a replacement. The lid will close with a more solid thud and you'll also start finding it more difficult to open when cold – this is because of the wet tar deposits that stick the lid and body together.
Whether it's a kamado felt gasket or fibre mesh gasket, the process is pretty similar.
Removing The Old Gasket
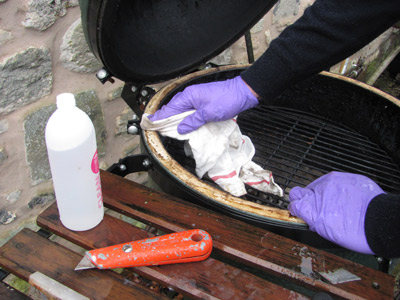
I used a Stanley knife to initially get under the felt and remove it from the ceramic. Once you've got a corner lifted you should just be able to pull it off (like the membrane on the back of your side of ribs).
When your kamado felt gasket has been removed you'll be left with traces of felt and a lot of adhesive on the ceramic rim and all this needs to be removed. Initially I went at it with the blade of my knife and promptly broke it, I eventually found that the perfect tool is a wallpaper stripping tool.
Whatever you use, the most important thing is to ensure that you scrape off as much of the adhesive as possible.
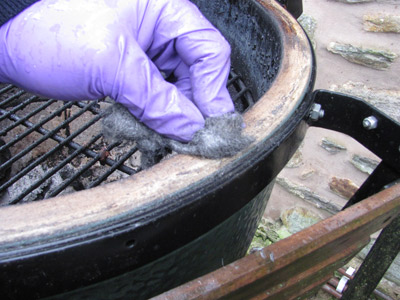
You need a good clean substrate to re-apply the new gasket so the next stage is to make a good clean surface using wire wool and methylated spirit. The spirit really helps remove those final traces of adhesive, white spirit or nail varnish remover also work well.
Applying The New Kamado Felt Gasket
Your replacement felt will come with a self adhesive backing which is OK but I recommend that you get an aerosol adhesive spray and apply that first. It just makes everything that much more secure.
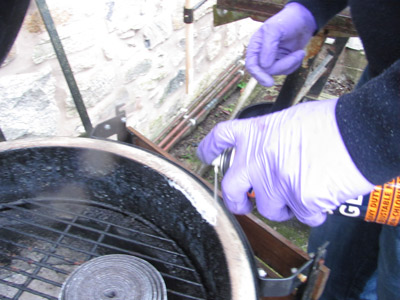
Apply the spray adhesive and then start at the back of the kamado (where the hinge is), peel off the backing paper and secure the felt around the perimeter. Give the adhesive 10 minutes to cure and then you're done.
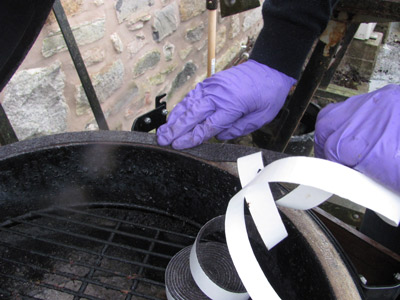
Once you've done the base, repeat the same process for the lid. With a little care and patience the lid gasket can be replaced in situ without having to take the kamado apart, although it has to be said that it is a little more awkward.
All in all it took me just less than an hour and now I know the right tools to use, next time it will take me less.
See Also:-
Kamado Cooking
Big Green Egg Versus Primo
Big Green Egg Versus Grill Dome

Return to more Water Smoker Recipes from Changing A Kamado Felt Gasket


